How to make a prop fountain for Prom or Homecoming or other event
I know you are going to think I'm crazy, but I was desperate last year when putting together a formal for our homeschool teens. I had a shoestring budget. Our theme begged for a fountain, but the budget said "no". I don't like it when the budget says no. I found a way.
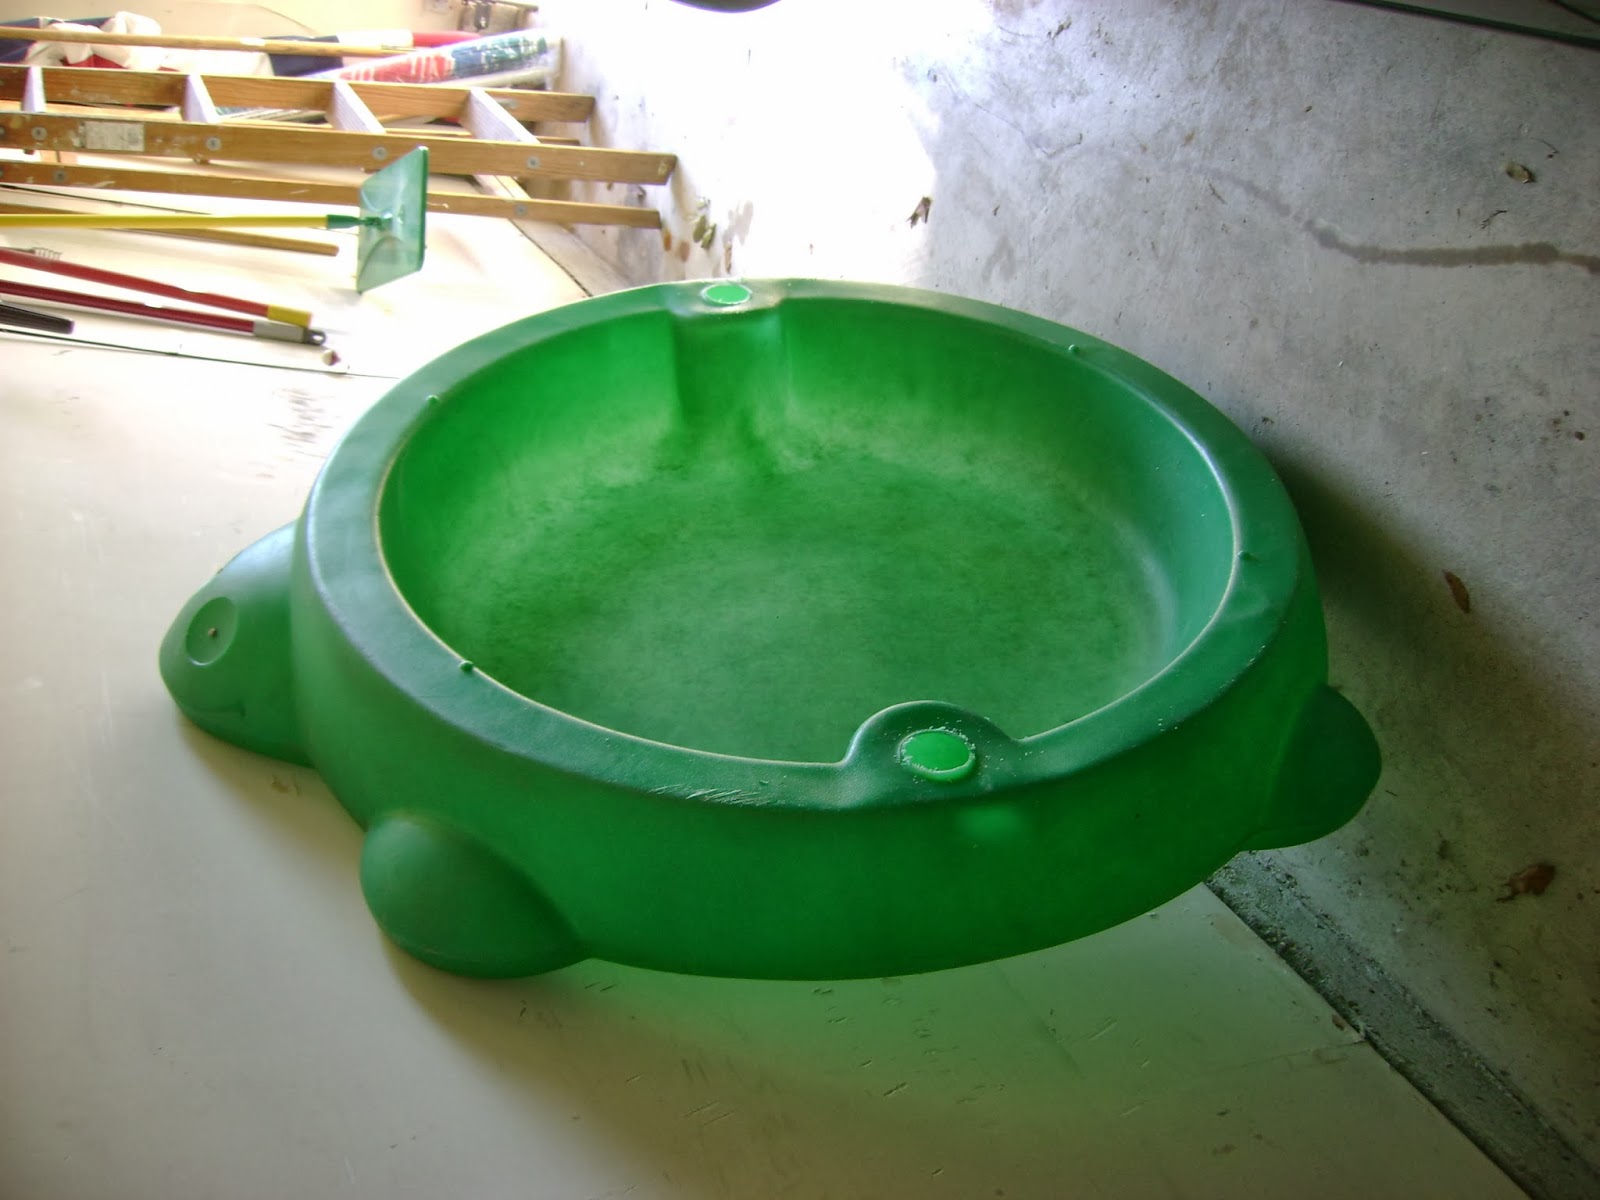
First off, I found someone who was giving away one of those sand turtles. I just needed the bottom. I cut off the little knobs that secure the top.
I found a large plastic bowl and some large containers with screw off tops at the Dollar Store. I also found an ugly angel at the thrift store.

Next, I spray painted everything with some special Plastic Spray in a neutral shade. Grey would have been smarter, but I used what I had.
I used epoxy glue to secure each of the screw lidded jars and the large bowl together. It is important to use screw lids so that the fountain can be taken apart for delivery.
Also, we had to deal with the feet and head of the turtle. I made some rocks by lightly crumpling some dollar store aluminum foil. Covering it with paper mache' (paper towels stuck on with a flour/water mixture). Spray painted them with various shades of brown, grey and black spray paint. We glued those around the existing feet and head bumps to hide them.
Then we used epoxy glue to secure an extension cord. I don't think it was necessary, but it was nice to have at the time.
We sprayed everything down with a stone look spray paint. I also took some brown antiquing medium (at Hobby Lobby) and went over the cracks to give it some age. I also used various green and brown paint and ragged it on to mimic dirt and algae. We spray painted the feet and head of the turtle in the colors of the rocks.
I stuck some inexpensive ferns in the holes left over when we cut off the knobs that secured the lid.
We lined the bottom with crumpled foil. Put some twinkle lights over the foil and covered it all with blue cello wrap from the party store. My partner in crime, Antoinette, decided that it would be better if we covered the wire between each light with foil. It think it made a world of difference and would recommend doing this. Here is the finished product.
First off, I found someone who was giving away one of those sand turtles. I just needed the bottom. I cut off the little knobs that secure the top.
I found a large plastic bowl and some large containers with screw off tops at the Dollar Store. I also found an ugly angel at the thrift store.

Next, I spray painted everything with some special Plastic Spray in a neutral shade. Grey would have been smarter, but I used what I had.
I used epoxy glue to secure each of the screw lidded jars and the large bowl together. It is important to use screw lids so that the fountain can be taken apart for delivery.
Also, we had to deal with the feet and head of the turtle. I made some rocks by lightly crumpling some dollar store aluminum foil. Covering it with paper mache' (paper towels stuck on with a flour/water mixture). Spray painted them with various shades of brown, grey and black spray paint. We glued those around the existing feet and head bumps to hide them.
Then we used epoxy glue to secure an extension cord. I don't think it was necessary, but it was nice to have at the time.
We sprayed everything down with a stone look spray paint. I also took some brown antiquing medium (at Hobby Lobby) and went over the cracks to give it some age. I also used various green and brown paint and ragged it on to mimic dirt and algae. We spray painted the feet and head of the turtle in the colors of the rocks.
I stuck some inexpensive ferns in the holes left over when we cut off the knobs that secured the lid.
We lined the bottom with crumpled foil. Put some twinkle lights over the foil and covered it all with blue cello wrap from the party store. My partner in crime, Antoinette, decided that it would be better if we covered the wire between each light with foil. It think it made a world of difference and would recommend doing this. Here is the finished product.


Comments