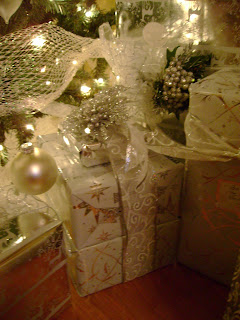
Make Gift Wrapping Easy
 OK, maybe not "easy" but definitely easier. To make it "easy" you would have to hire an elf to do it for you... Well, that's not gonna happen so let's find a way to make it easier. Don't wait until the last minute to wrap the gifts. Giving yourself a designated time to wrap them gives you some freedom to create beautiful gift wrapping. If you are wrapping your kids gifts, maybe send them off for some "dad" time at the park. I usually wrap my gifts in two sessions. First, all of our friends and family gifts and later our kids gifts.
 First gather up all your wrapping supplies: tape, scissors, bags, boxes, bows, gift toppers, gift tags, wrapping paper... I like the "Christmas Picks" you can get at the hobby store for beautiful gift toppers. Many stores are discounting them now.
Then clear off an area in your house to do the gift wrapping. Don't get sidetracked and start  spring cleaning this area... just push stuff around so you have enough room for your wrapping supplies. I used my kitchen because my island is a nice height to cut the wrapping paper.
 spring cleaning this area... just push stuff around so you have enough room for your wrapping supplies. I used my kitchen because my island is a nice height to cut the wrapping paper.
 Then organize each wrapping item into piles... all the bows in one pile, all the paper in another... Again, I used my kitchen because my kitchen chairs, table and cabinets make nice areas to put my piles.
Then grab a gift from its hiding place and get wrapping. The key to staying organized while wrapping is to put all your supplies back into their piles when you are finished with each gift so you aren't hunting around for supplies in the middle of wrapping and slowing yourself down.
I like to make my own bows with wire edged ribbon. Only wrap one side of the box with ribbon to save money. My sweet friend Rhonda showed me how to make bows a long time ago and I've been making them like this ever since. They look professional and they are very easy.
I'll try and show you step by step how to make a bow with wired edged ribbon. I apologize that I'm using semi-transparent ribbon in the demonstration, but it is actually what I used this year for my gifts.
 Next put all three of the lengths of ribbon together and fold the ends lengthwise and snip it off at an angle to make a nice "v" shape to finish off your bow. Do the other side too.


Comments